Conformity and documentation
The Sportconic P106FA has been tested and certified in accordance with European directives for machine safety, electrical safety, and electromagnetic compatibility. Download the official EU Declaration of Conformity below.
Treadmill P106FA Pro Instructions
A well-maintained treadmill is safer, quieter, and lasts longer.
In these videos, you will learn how to install, maintain, and adjust your treadmill step-by-step, ensuring you can always count on a pleasant and smooth running experience. Whether you are just starting out or have been using the treadmill for a while, these tips will help you keep your device in optimal condition. Watch along and discover how simple installation and proper maintenance can be!
Installing the Treadmill
Prevent incorrect assembly and ensure a safe start!
In this video, we show you how to install your treadmill step by step, so you can get started quickly and worry-free.
- Lift the armrests and tighten the knobs as much as possible.
- Lift the handles and attach the supplied pins.
- Plug the power cord into the wall outlet, turn on the treadmill, and attach the safety cord.
- Optional: Adjust the feet to utilize the 9% incline.
Lubricating the treadmill
Prevent wear and tear and ensure a smooth workout! In this video, we show you how to lubricate your treadmill easily and effectively.
Note: You do not need to lubricate the treadmill during first use.
- Lift the belt on the side using the adjustment wrench.
- Hold the belt up and apply the oil under the belt from left to right.
- Do the same on the other side.
- Turn on the treadmill and let it run at 6 km/h so that the lubricating oil spreads under the belt.
Aligning the treadmill
Over time, the belt may shift slightly, causing it to no longer run perfectly in the center. In this video, we show you step-by-step how to easily and correctly adjust the belt.
This keeps your treadmill in top condition and extends the lifespan of the device.
- Set the treadmill to 6 km/h.
- Determine which side the belt needs to be aligned: - If the belt needs to go left, turn the right nut to the right. - If the belt needs to go right, turn the left nut to the right.
- Use the included adjustment wrench to turn the nut a maximum of a quarter turn to the right each time. This will cause the belt to shift towards the center.
- Wait at least 30 seconds to see the result. The belt will then be aligned in the center. If this is not the case, repeat step 3.
More instructional videos
With our clear instructional videos, we guide you step by step through installing, setting up, operating, and maintaining your treadmill. Whether you have just bought your first machine or have been training for a while, our videos are designed to make your user experience simpler, safer, and more efficient.
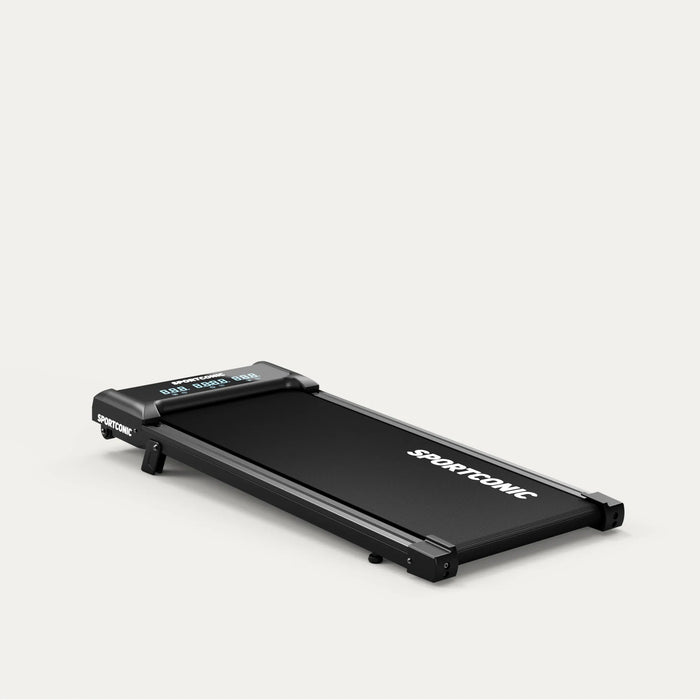
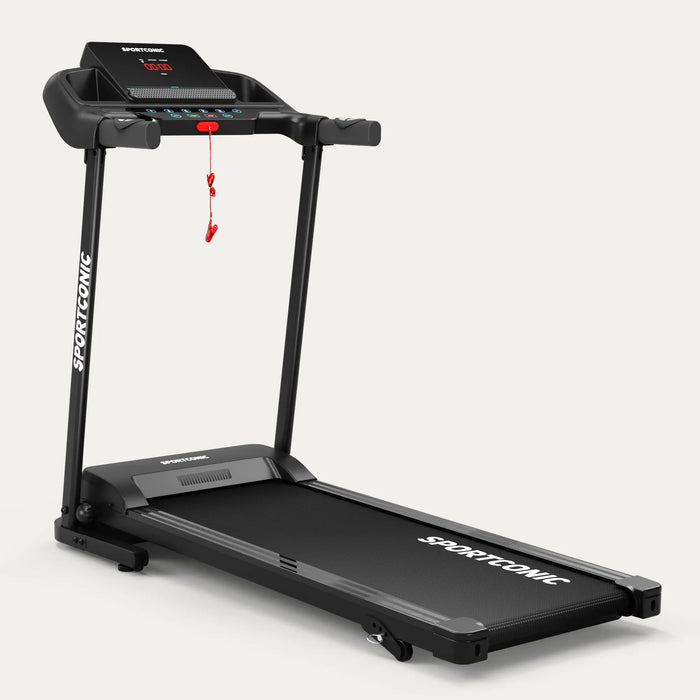
Sportconic T140
1. Installing the treadmill
2. Lubricating the belt
3. Aligning the belt
4. Operation: Modes and Programs
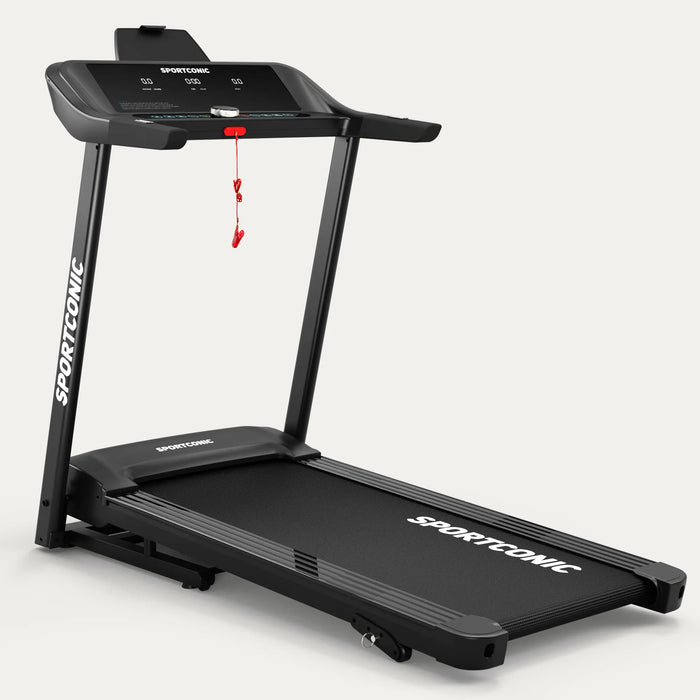
Sportconic T155
1. Installing the treadmill
2. Lubricating the belt
3. Aligning the belt
4. Operation: Mode and Programs